Transfer everything from old computer to new computer with Windows 11
Transfer programs and files to new computer
Transfer files from one computer to another
Transfer Microsoft Office to new computer
Restore programs and files from a broken or dead computer
Transfer directly from an old hard drive
Transfer to new computer using a USB hard drive
Corporate Windows 11 migration
User Profile Migration to new PC / new domain
How To Migrate Local Profiles to Azure AD
Migration to Server 2019 / 2016
Transfer programs and files to new computer
Transfer files from one computer to another
Transfer Microsoft Office to new computer
Restore programs and files from a broken or dead computer
Transfer directly from an old hard drive
Transfer to new computer using a USB hard drive
Move To New PC - Compare Options
Migration Kit Pro - Advanced Transfer
Transfer programs and files to new computer
Transfer files from one computer to another
Transfer Microsoft Office to new computer
Restore programs and files from a broken or dead computer
Transfer directly from an old hard drive
Transfer to new computer using a USB hard drive

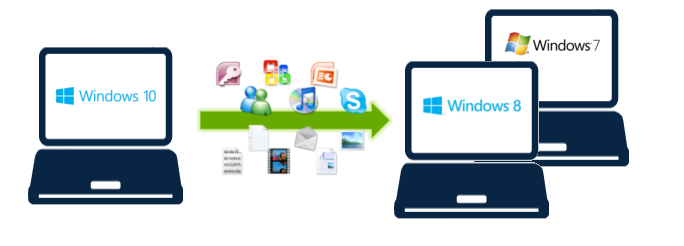
In this article, we will see how to perform a Windows 10 downgrade, without losing your stuff – even if more than 30 days have passed after the original upgrade. If you are unhappy with Windows 10, and prefer to get back to Windows 7 or Windows 8, this tutorial will help you do that, and most importantly – help you preserve all your stuff in the process, including your programs, profile, settings, documents, pictures, music, movies, favorites, wallpaper and everything else.
The first step in a major install like this is to back up everything you’ve got. After the downgrade, your programs and data will be gone, and you will need to restore them to get back to normal. We recommend using the Migration Kit Pro, which allows to easily back up, and most importantly easily restore programs, settings and files after the downgrade (even though it will be a different Windows version). Alternatively, you can also use any 3rd party backup product that can perform a full system image backup, although that would only allow you to restore files, not programs.
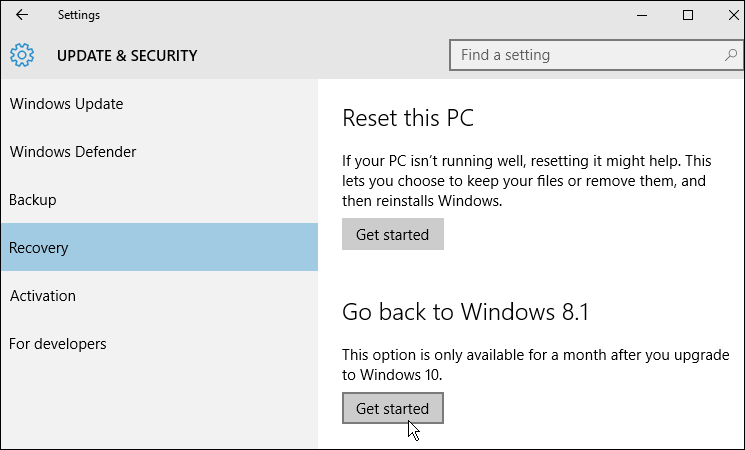
Once you have your backup, it’s time to perform the actual downgrade. There are two possibilities:

That’s it – you are back to Windows 7 (or 8)!
